When homeowners ask, “Why are my solar street lights not turning on at night,” the cause is rarely mysterious. In most cases, the battery lacks stored energy, the panel receives poor sunlight, or the controller prevents automatic lighting. A shaded panel, dusty glass, loose cable, or damaged sensor can stop an otherwise healthy fixture.
Solar lighting engineer Dr. Steven Strong explains, “Reliable solar lighting begins with matching the panel, battery, and load to the site.” That principle matters during troubleshooting. A light installed beneath trees may work in summer, then fail after winter shadows grow longer. Heavy rain can also expose weak seals or corroded terminals. Check the panel, battery compartment, wiring, and control settings carefully. Do not replace every part at once.
Small details matter.
A technician should test the battery voltage after sunset, inspect the motion or dusk sensor, and confirm the power switch is enabled. Some models include transport switches or remote settings that remain inactive after installation. A cloudy day does not always indicate failure. The battery may simply need several bright days to recharge. However, repeated darkness points to a deeper problem, such as battery aging or controller damage. I have seen troubleshooting guides blame the battery too quickly. That assumption can waste money. This guide examines practical checks, common repair mistakes, and safer replacement decisions, helping you restore dependable nighttime illumination with evidence rather than guesswork.
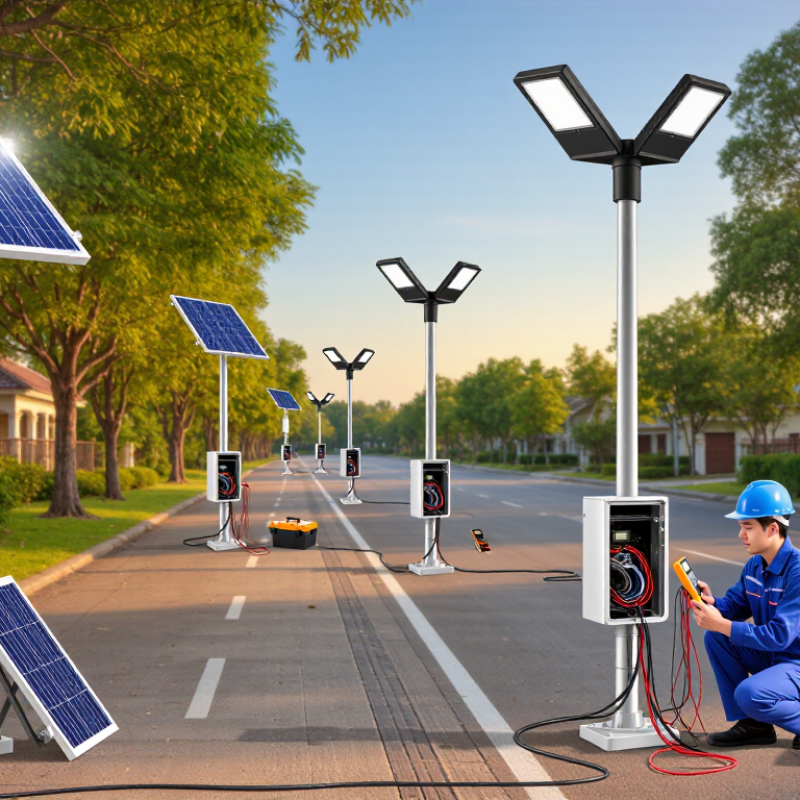
How to Fix Solar Street Lights Not Turning On at Night 2026
When a solar street light stays off after sunset, check the dusk sensor threshold before replacing parts. Most controllers activate between 10 and 30 lux. A higher setting can trigger the lamp too early, while a lower setting may delay activation in darkness. I have seen technicians test at 6 p.m., then mistake normal delay for failure. Give the controller several minutes to respond.
Use a handheld lux meter near the sensor, not directly under the lamp. Cover the sensor with an opaque cloth and watch the controller indicator, if available. Dust, bird marks, or a nearby wall can change the measured light level. Clean the sensor gently with a dry, soft cloth. Avoid shining a phone flashlight toward it. That can create a false reading.
Check the threshold in the controller settings and keep it within the recommended 10–30 lux range. Test during bright dusk and again after full darkness. Some systems include a delay to prevent switching during passing headlights or clouds. I once blamed the battery, but the sensor was facing a reflective window. The diagnosis was incomplete. If the light still fails, measure battery voltage and inspect wiring after confirming the sensor reacts correctly. A loose connector can imitate a sensor problem. Keep a short record of lux readings, activation time, and weather conditions. Small details often reveal the real fault.
| Check or Data Dimension | Typical Value or Condition | What to Inspect | Recommended Action |
|---|---|---|---|
| Dusk sensor activation threshold | Typically 10–30 lux | Measure ambient light near the sensor after sunset with a calibrated lux meter. | Wait until the measured light level falls below the controller’s threshold. Confirm the exact setting in the controller documentation. |
| Daylight or nearby artificial light | Above the activation threshold | Check whether direct sunlight, security lighting, vehicle headlights, or reflected light reaches the sensor. | Remove the light source, reposition the sensor, or use the approved sensor shield without covering the sensing surface. |
| Sensor lens condition | Clean, dry, and unobstructed | Look for dust, mud, insects, condensation, protective film, paint, or physical damage. | Clean the lens with a soft, dry or slightly damp cloth. Replace a cracked or water-damaged sensor. |
| Controller operating mode | Automatic or dusk-to-dawn mode | Check for OFF, manual, test, timer, or energy-saving settings. | Set the controller to automatic dusk-to-dawn operation and disable temporary test modes after testing. |
| Solar panel charging time | Usually several hours of direct sunlight per day | Inspect shading from trees, buildings, poles, dirt, snow, and incorrect panel orientation. | Clean the panel and remove shading where practical. Allow adequate charging time before retesting. |
| Battery state of charge | Sufficient charge required for nighttime operation | Check the controller’s battery indicator or measure voltage using the battery manufacturer’s safe test procedure. | Recharge the battery fully. If capacity remains low after charging, test for aging, damage, or excessive self-discharge. |
| Battery temperature | Within the battery’s specified operating range | Look for extreme heat, freezing conditions, swelling, leakage, or a battery protection shutdown. | Allow the system to return to a safe temperature. Replace damaged batteries and follow applicable disposal requirements. |
| Battery and controller connections | Secure, clean, and correctly polarized | Inspect terminals, connectors, fuses, cable insulation, corrosion, and signs of water entry. | Isolate power before servicing, tighten approved connections, replace damaged fuses, and correct corrosion or wiring faults. |
| LED light output | LED should illuminate after the ON command | Check the LED module, driver, wiring, and controller output after the sensor threshold is reached. | Replace failed components only with compatible parts and verify polarity, voltage, and current ratings. |
| Motion or dimming schedule | May reduce brightness after a programmed period | Determine whether the lamp is off or operating at a low dimming level. | Review the timer, motion-sensor, and dimming settings before concluding that the lamp has failed. |
| Reset and retest procedure | Power-cycle only when permitted by the system instructions | Confirm that the fault is not caused by a temporary controller lockout or protection state. | Follow the controller’s reset sequence, cover the sensor only for a brief controlled test, and uncover it afterward. |
| Safety requirement | Electrical isolation before repair | Solar panels can produce electrical power whenever exposed to light, even when the lamp is off. | Use qualified personnel for electrical testing, isolate the system as instructed, and wear appropriate personal protective equipment. |
Note: The 10–30 lux dusk threshold is a common reference range, not a universal setting. Actual activation levels, delays, dimming schedules, battery limits, and reset procedures vary by controller and installation.
Most controllers activate between 10 and 30 lux. A higher setting may switch the lamp on too early. A lower setting can delay activation. Allow several minutes.
Place a handheld lux meter near the sensor. Do not measure directly beneath the lamp. Cover the sensor with opaque cloth. Watch the controller indicator, if available. Avoid phone flashlights.
Dust, bird marks, reflective windows, and nearby walls can change readings. Clean the sensor with a dry, soft cloth. Check the sensor’s direction. I once blamed the battery. The reflection caused the problem.
Test the light for three to five consecutive nights. Charge the battery fully during a clear day. Record voltage, current, temperature, and operating hours. The final hours matter most.
Measure battery voltage and light output around midnight. Measure them again before dawn. Record cloudy weather, shading, and daily lighting hours. One bright night proves little.
Loose terminals, corrosion, incorrect settings, or aging can reduce usable capacity. Cold temperatures may also lower available energy. A rated capacity can mislead. Inspect carefully.
A reset may clear a frozen schedule or incorrect lighting mode. Record all settings before resetting. Follow the unit’s service instructions. Never short terminals. Do not guess wire connections.
Record activation time, brightness, shutdown time, panel voltage, and battery voltage. Compare results across similar weather conditions. Inspect the lamp after rain, wind, or heavy clouds. My first repair seemed successful. The log later showed early shutdowns.
If you are wondering, “Why are my solar street lights not turning on at night,” begin by checking the dusk sensor threshold, which is typically set between 10 and 30 lux. Make sure the panel receives enough sunlight, ideally 4–6 peak sun hours per day, and confirm that charging is not blocked by shade, dirt, or poor positioning. The battery should also be tested to verify whether it can provide approximately 3–5 nights of backup power.
Next, inspect the wiring, connectors, and protective seals for damage, moisture, or loose connections. The fixture should maintain suitable outdoor protection, such as IP65 sealing, and comply with applicable lighting safety requirements, including IEC 60598-2-3. Finally, reset the controller and monitor the light through a three-night performance test. This systematic process can identify whether the issue comes from sensing, charging, battery capacity, wiring, or controller settings.

 NexLt Light