How to fix solar lights with water damage easily?

Time:2026-07-21 Author:Oliver
0%

Solar lights are a popular choice for outdoor lighting due to their energy efficiency and sustainability. However, water damage can significantly reduce their lifespan. According to a report by the Solar Energy Industries Association, nearly 15% of solar lights fail due to moisture intrusion. Homeowners often wonder how to fix a solar light that got water inside.

Understanding the issue is crucial. When water enters solar lights, it can cause short circuits, corrosion, and even battery failure. The good news is that many of these problems can be resolved with a few simple steps. Experts recommend disassembling the light carefully and drying it thoroughly. In some cases, replacing damaged components may be necessary.

Proper maintenance can prevent future damage. Regularly checking for cracks and ensuring the seals are intact can help. This is essential, given that about 60% of users report encountering similar problems. Handling solar lights with care and understanding their components will greatly enhance their longevity. With the right approach, you can restore your solar lights effectively, ensuring they continue to illuminate your outdoor spaces.
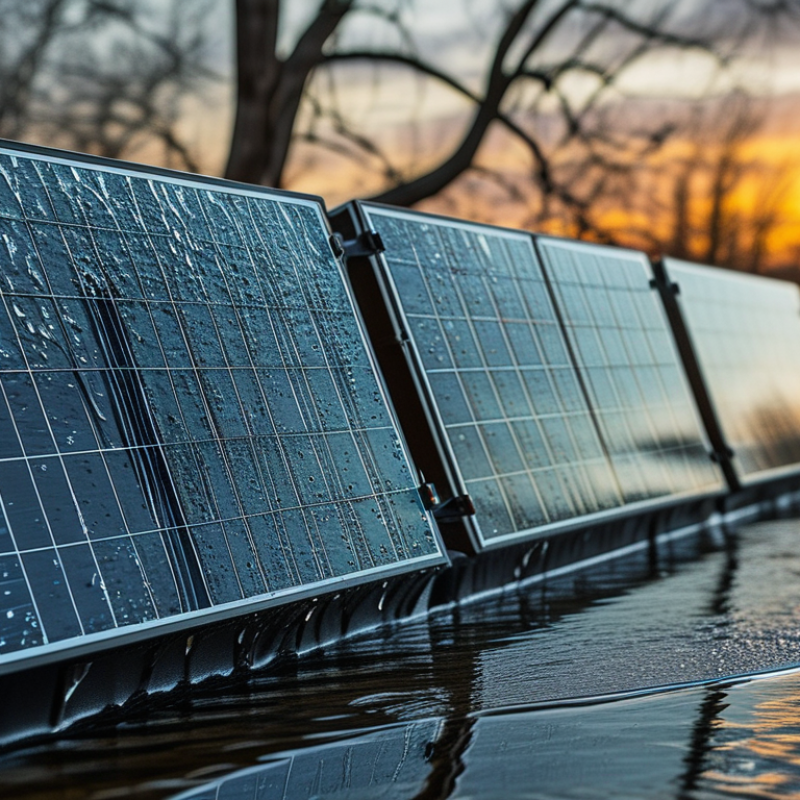
How to fix solar lights with water damage easily?

How to Identify Water Damage in Solar Lights: Key Signs to Look For

Water damage in solar lights can be a significant issue. To address it, identifying the signs is crucial. Common indicators include condensation inside the light or a cloudy lens. According to a recent industry report, about 30% of solar light failures are due to water-related issues.

Another sign to watch for is rust on metal parts. If you notice any deterioration, the light's lifespan is compromised. In fact, experts suggest that even minor water exposure can reduce efficiency by up to 50%. You may also find water pooling at the base of the light. This can lead to further electrical problems, creating a risky situation.

Occasionally, users may overlook these symptoms, assuming the lights are merely malfunctioning. However, addressing water ingress promptly can save money and enhance performance. Regular inspections are key. Keep an eye on the seals and ensure the light is appropriately positioned to avoid water accumulation.

Water Damage in Solar Lights: Key Signs to Look For

Essential Tools and Materials Needed for Repairing Solar Lights

When dealing with solar lights affected by water damage, having the right tools and materials is essential for repair. You will need a few fundamental items to get started. These include a small screwdriver set, waterproof sealant, replacement batteries, and a multimeter. A good pair of gloves can also protect your hands during the process.

One critical tip is to ensure you have a clean workspace. Remove any debris or dirt from the solar lights. This will help prevent further damage as you work. Checking for leaks in the casing is vital. Use the waterproof sealant to fix any cracks. This will make your solar lights more durable.

After repairs, test the lights. A multimeter can help you check the battery and solar panel connections. If the lights do not work after checking connections, consider replacing the batteries. It’s necessary to be patient. Not all repairs will yield instant results. Sometimes, you may need to revisit problem areas.

How to fix solar lights with water damage easily? - Essential Tools and Materials Needed for Repairing Solar Lights

Tool/Material Description Purpose
Screwdriver A tool used for driving screws to secure parts. To open the solar light casing and access internal components.
Silicone Sealant A waterproof adhesive used for sealing. To seal any leaks and prevent water from entering the light.
Multimeter An instrument for measuring voltage, current, and resistance. To check the electrical components and ensure proper functionality.
Replacement Battery A new battery compatible with your solar light. To replace any corroded or damaged batteries.
Wire Stripper A tool to remove insulation from electrical wires. To repair or replace damaged wiring within the light.
Cleaning Cloth A soft cloth for cleaning surfaces. To clean any moisture or dirt from the solar panel and parts.

Step-by-Step Guide to Disassemble and Dry Water-Damaged Solar Lights

Water damage can be a common issue for solar lights, especially during heavy rains. When moisture enters these lights, it can cause them to malfunction. Here's a straightforward guide to disassemble and dry your solar lights effectively.

Start by turning off the solar lights. Carefully remove the top part to access the battery and wiring. Check for any visible signs of water. If moisture is present, you need to dry the components. Use a soft cloth to wipe away any water. For stubborn moisture inside, you might consider using silica gel packets. They can help absorb moisture better than just air drying.

Tips: Ensure you keep the battery separate during the drying process to prevent damage. If the circuit board appears corroded, a gentle cleaning with isopropyl alcohol can help restore functionality.

After everything has dried, reassemble the solar lights. Make sure all parts are secure. Place the lights in a sunny area to charge properly. Keep an eye on them for the next few days. If they still don’t work, it may be time to reconsider their placement or invest in new ones. Regular maintenance can prevent future issues.

Techniques for Repairing or Replacing Damaged Components in Solar Lights

Water damage in solar lights can be frustrating. However, with some simple techniques, you can repair or replace the damaged components. Start by carefully disconnecting the lights from their power source. Check for any visible cracks or water accumulation. If you find water inside the solar panel or battery compartment, use a soft cloth to dry it.

Next, focus on replacing the battery. Corrosion from water can hinder performance. Remove the old battery and clean the contacts with rubbing alcohol. This could restore connectivity. If the solar panel appears cloudy or covered in debris, clean it using a damp cloth to maximize sunlight absorption.

For components that are beyond repair, consider purchasing replacement parts. This ensures your solar lights can function effectively after a mishap. Be aware that not all parts are easy to find. Sometimes, you may need to be resourceful. Tinkering can lead to unexpected issues but also to innovative solutions. Repairing solar lights can be an iterative process, requiring patience and ingenuity.

Preventive Measures to Protect Solar Lights from Future Water Damage

To prevent water damage in solar lights, it’s crucial to understand the vulnerabilities of these systems. Studies show that nearly 40% of solar light failures are due to water infiltration. Proper sealing is essential. Use silicone sealant around all joints and connections. This creates a water-tight barrier, significantly reducing the risk of internal damage.

Regular maintenance is another vital step. Clean the solar panels and housing frequently. Dirt and debris can trap moisture. Keeping these areas clear can help ensure proper water drainage. A simple wipe-down can extend the life of your lights by months or even years. Moreover, consider relocating lights away from heavy foliage to prevent water accumulation from dripping leaves.

Storage during harsh weather is also important. Experts suggest bringing solar lights indoors during extreme rain or snow. Not everyone does this, leading to needless repairs. It’s a simple measure that can save time and money in the long run. By practicing these preventive measures, you can keep your solar lights functioning optimally and avoid the hassle of fixing them later.

FAQS

: What is the first step to repair solar lights after water damage?

: Carefully disconnect the lights from their power source.

How can I check for water damage in solar lights?

Look for visible cracks or water accumulation inside the solar panel or battery compartment.

What should I use to dry the parts of solar lights?

Use a soft cloth to dry any moisture you find inside.

How do I replace a damaged battery in solar lights?

Remove the old battery and clean the contacts with rubbing alcohol.

What if the solar panel is cloudy?

Clean it with a damp cloth to maximize sunlight absorption.

How can I prevent future water damage to solar lights?

Apply silicone sealant around joints and connections for better sealing.

Why is regular maintenance important for solar lights?

It helps remove dirt and debris that can trap moisture, prolonging the lights' life.

What should I do during harsh weather conditions?

Bring solar lights indoors to prevent damage from extreme rain or snow.

Are replacement parts for solar lights always easy to find?

No, sometimes you may need to search or be inventive to find them.

What can happen if I neglect solar light maintenance?

Neglecting maintenance can lead to costly repairs and decreased functionality over time.

Conclusion

When learning how to fix a solar light that got water inside, it's essential to first identify the signs of water damage. Common indicators include discoloration, moisture within the casing, and malfunctioning LED lights. Once you've diagnosed the problem, you'll need specific tools and materials to effectively repair the lights.

The next step involves a thorough disassembly and drying process to ensure all components are free from moisture. After drying, you can repair or replace any damaged parts, ensuring the solar light functions correctly again. Finally, it's crucial to implement preventive measures to safeguard solar lights against future water damage, such as using waterproof seals and proper installation techniques. Following these steps will help maintain the longevity and efficiency of your solar lights.

Oliver

Oliver

Oliver is a seasoned marketing professional with a wealth of expertise in driving brand awareness and engagement. With a deep understanding of our company's product offerings, he consistently delivers high-quality content that enriches our professional blog. His insights not only shed light on......